
5 Travel Insurance Benefits
One of the fun moments in life is a moment of traveling with either a friend, spouse, or family…
Read more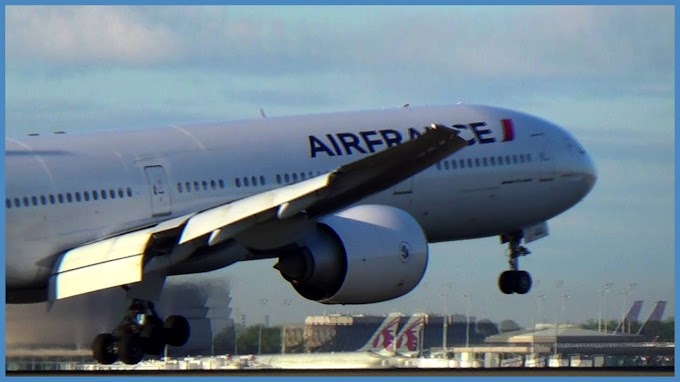 seat Map
Awesome Air Canada 777-300er Wallpaper
This picture we present to you. For those of you who like to the plane would be happy. You can use …
Read more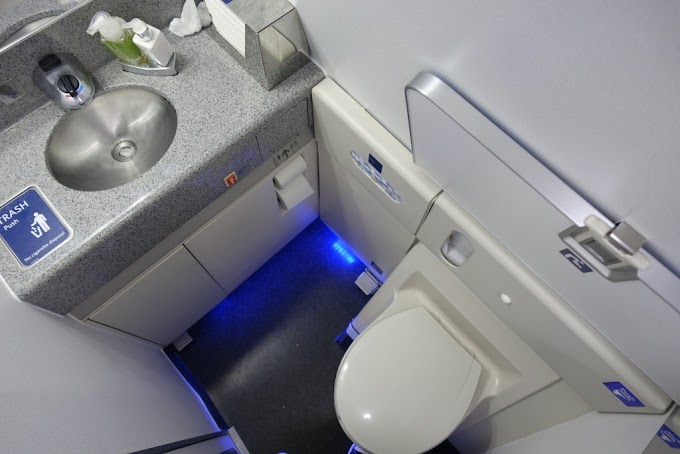 Seating Plan
✓ Best Of Boeing 767-300 toilets image
Best Of Boeing 767-300 toilets- Allowed for you to our weblog, within this moment I will provide y…
Read more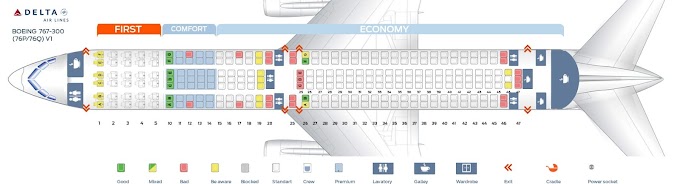 Seating Plan
✓ Beautiful Delta Boeing 767-300 Seat Map
Beautiful Delta Boeing 767-300 Seat Map- Delightful to be able to my own website, in this particul…
Read more Seating Plan
✓ Beautiful Air Canada Boeing 767-300 Seat Map
Beautiful Air Canada Boeing 767-300 Seat Map- Pleasant for you to the website, on this time I will…
Read more Seating Plan
✓ Elegant United Boeing 767-300 Seat Map
Elegant United Boeing 767-300 Seat Map- Pleasant to be able to my personal website, in this time p…
Read more


